Introduction
Red Hat has several resources to help you get started with OpenShift. This is my first article on Red Hat OpenShift. This article will cover the free test drive for the OpenShift Container Platform.
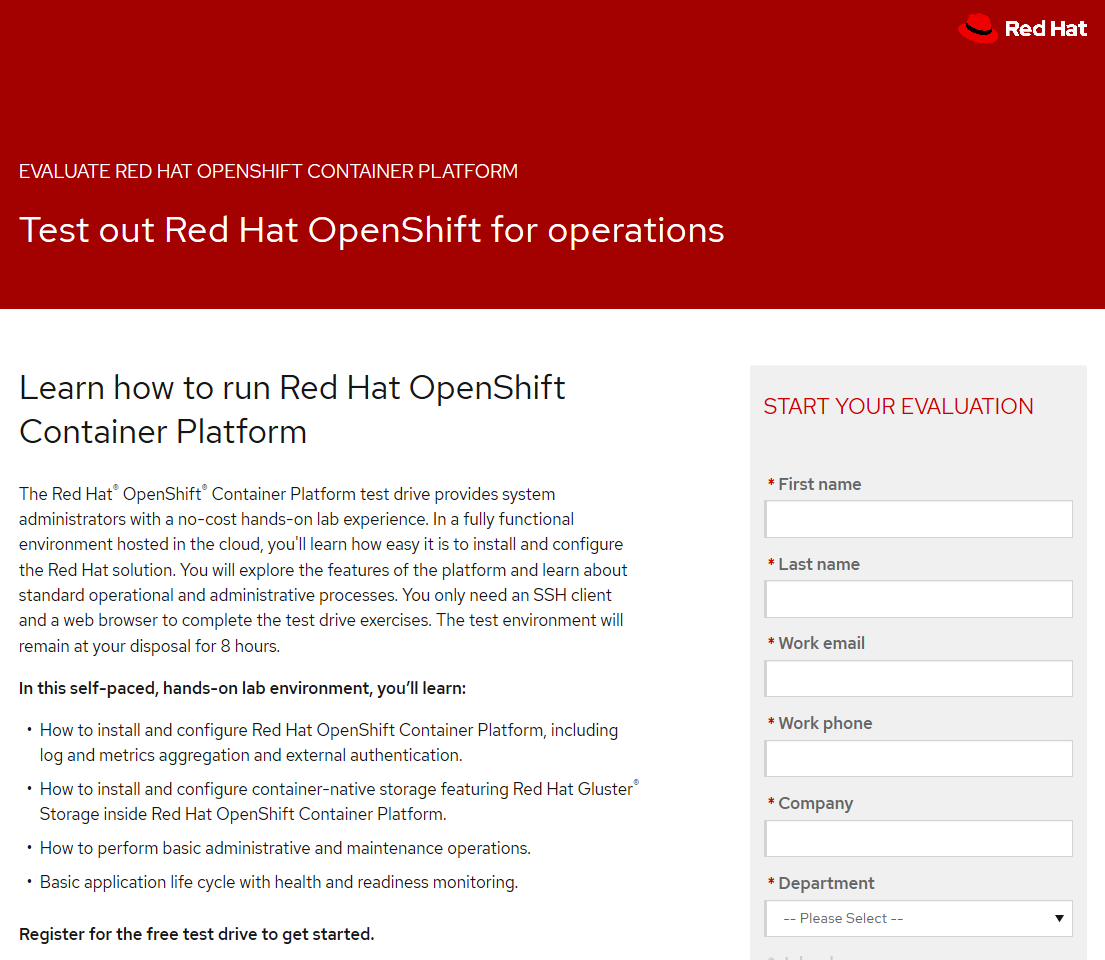
The Red Hat® OpenShift® Container Platform test drive provides system administrators with no-cost hands-on lab experience. In a fully functional environment hosted in the cloud, you’ll learn how easy it is to install and configure the Red Hat solution. You will explore the features of the platform and learn about standard operational and administrative processes. You only need an SSH client and a web browser to complete the test drive exercises. The test environment will remain at your disposal for 8 hours.
In this self-paced, hands-on lab environment, you’ll learn:
- How to install and configure Red Hat OpenShift Container Platform, including log and metrics aggregation and external authentication.
- How to install and configure container-native storage featuring Red Hat Gluster® Storage inside Red Hat OpenShift Container Platform.
- How to perform basic administrative and maintenance operations.
- Basic application life cycle with health and readiness monitoring.
Qwiklabs
When I completed the registration form in Step 2 below, I was surprised to see an email from Qwiklabs. I am a big fan of Qwiklabs for Google Cloud and AWS. This is very good news. I will update this article once my account is approved. It appears that you need a new account for https://redhat.qwiklabs.com.
Update: Qwiklabs credits were added to my new Qwiklabs account the next morning.
Step 1 – Red Hat OpenShift Trial Page
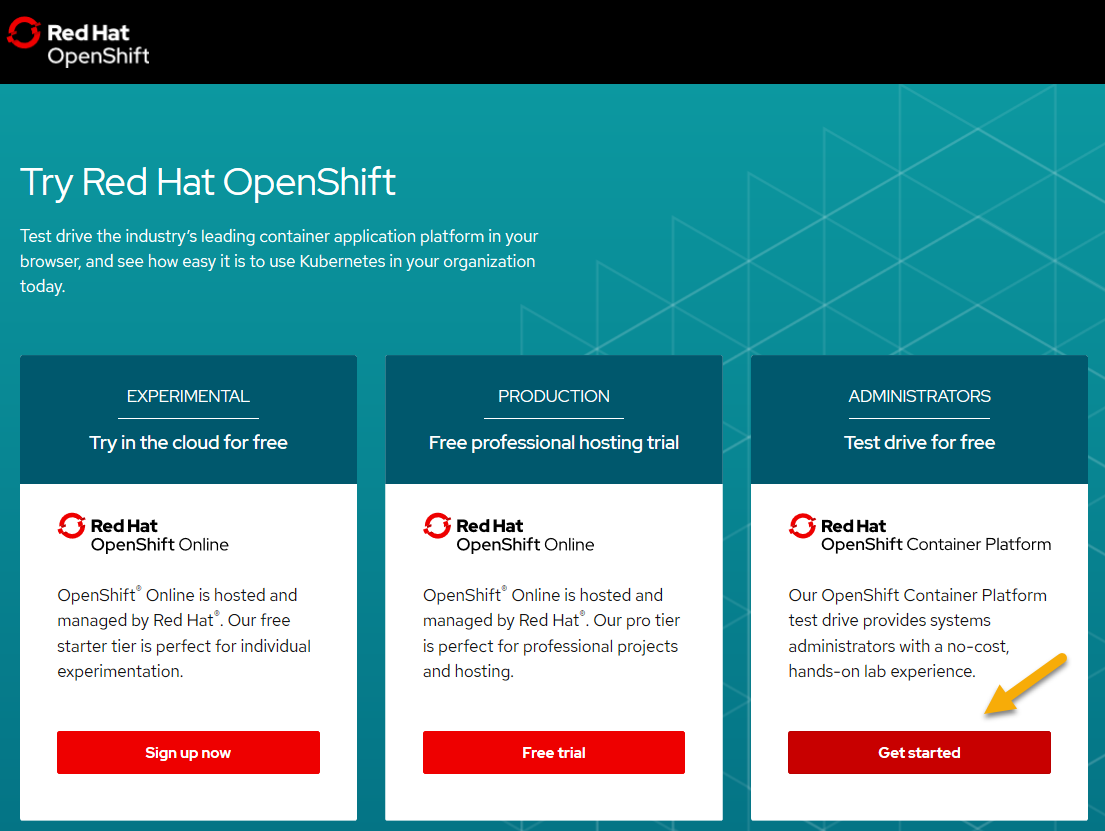
Go to the OpenShift trial page here. Select the rightmost offering titled “Administrators – Test drive for free”. Click Get started.

Step 2 – Register
Complete the registration page with your information.

Once you complete the registration, you will receive two emails. One from Red Hat and the second from Qwiklabs.
Step 3 – Qwiklabs
The following morning I received an email from Red Hat titled Red Hat OpenShift Container Storage Test Drive. The Qwilabs OpenShift lab is here.
Contents of the lab
- Exploring a ready-to-run OpenShift deployment
- Application Management Basics
- Project Template, Quota and Limit Settings
- External Authentication with LDAP
- Infrastructure Management Basics
- OpenShift Container Storage
This lab looks very good. Completing the lab typically takes two to three hours according to Qwiklabs. Red Hat provides 40 credits. The lab costs 10 credits. The lab runs (is available) for 8 hours which is the longest lab that I have seen on Qwiklabs. I plan to take this lab several times. The lab requires 15 to 20 minutes to provision the lab resources.
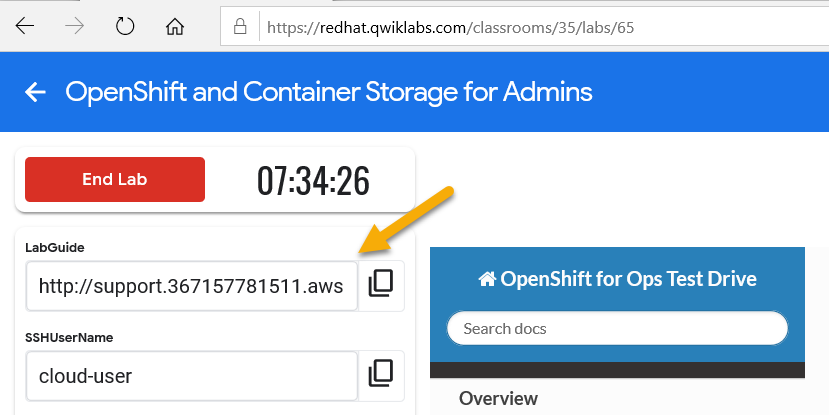
Once the lab provisioning completes, open the Lab Guide. This is important so I am emphasizing this step. Also, notice the timer which shows how much time is left before the lab stops and tears down the resources.
I will not be covering this lab step-by-step. I am concerned with copyright issues. I will highlight concepts with more information links that I feel are important for someone just getting started with Red Hat OpenShift.

Important Concepts
Master Components
- API/Authentication
- Data Store
- Scheduler
- Health/Scaling
API/Authentication
The Kubernetes API server validates and configures the resources that make up a Kubernetes cluster.
Common things that interact with the Kubernetes API server are:
- OpenShift Web Console
- OpenShift
occommand line tool - OpenShift Node
- Kubernetes Controllers
All interactions with the API server are secured using TLS. In addition, all API calls must be authenticated (the user is who they say they are) and authorized (the user has rights to make the requested API calls).
Data Store
The OpenShift Data Store (etcd) stores the persistent master state while other components watch etcd for changes to bring themselves into the desired state. etcd can be optionally configured for high availability, typically deployed with 2n+1 peer services.
Scheduler
The pod scheduler is responsible for determining the placement of new pods onto nodes within the cluster.
The scheduler is very flexible and can take the physical topology of the cluster into account (racks, datacenters, etc).
Health/Scaling
Each pod can register both liveness and readiness probes.
Liveness probes tell the system if the pod is healthy or not. If the pod is not healthy, it can be restarted automatically.
Readiness probes tell the system when the pod is ready to take traffic. This, for example, can be used by the cluster to know when to put a pod into the load balancer.
For more information on the OpenShift Master’s areas of responsibility, please refer to the infrastructure components section of the product documentation.
Basic OpenShift CLI Commands
The primary CLI command in OpenShift is oc. This command is a superset of kubectl. For example, you can list the pods with the command oc get pods just like the Kubernetes command kubectl get pods. If you are comfortable with kubectl you will quickly learn oc.
Create a Project
OpenShift organizes resources into projects. Projects may have multiple users who can access them and users can access multiple projects.
- oc new-project project_name
Deploy an Application
Applications can be deployed from the web console GUI or from the CLI. The application can be a container image or a Git repository.
- oc new-app docker.io/example-container
Expose an Application
Applications are not exposed by default. Applications (service) can be exposed with a route.
- oc expose svc/service_name
List Nodes
- oc get nodes
Example output:
|
1 2 3 4 5 6 |
NAME STATUS ROLES AGE VERSION infra.internal.aws.testdrive.openshift.com Ready infra 1h v1.11.0+d4cacc0 master.internal.aws.testdrive.openshift.com Ready master 1h v1.11.0+d4cacc0 node01.internal.aws.testdrive.openshift.com Ready compute 1h v1.11.0+d4cacc0 node02.internal.aws.testdrive.openshift.com Ready compute 1h v1.11.0+d4cacc0 node03.internal.aws.testdrive.openshift.com Ready compute 1h v1.11.0+d4cacc0 |
List Pods
Pods are one or more containers deployed together on a host.
- oc get pods
Example output:
|
1 2 |
NAME READY STATUS RESTARTS AGE mapit-1-8bs55 1/1 Running 0 37m |
Describe a Pod
- oc describe pod pod_name
Example output:
|
1 2 3 4 5 6 7 8 9 10 11 12 13 14 15 16 17 18 19 20 21 22 23 24 25 26 27 28 29 30 31 32 33 34 35 36 37 38 39 40 41 42 43 44 45 46 47 48 49 50 51 52 53 |
Name: mapit-1-8bs55 Namespace: app-management Priority: 0 PriorityClassName: <none> Node: node02.internal.aws.testdrive.openshift.com/10.0.3.148 Start Time: Mon, 21 Oct 2019 15:36:16 +0000 Labels: app=mapit deployment=mapit-1 deploymentconfig=mapit Annotations: openshift.io/deployment-config.latest-version=1 openshift.io/deployment-config.name=mapit openshift.io/deployment.name=mapit-1 openshift.io/generated-by=OpenShiftNewApp openshift.io/scc=restricted Status: Running IP: 10.130.0.2 Controlled By: ReplicationController/mapit-1 Containers: mapit: Container ID: docker://aec6960397bbcd230b8b70098c89ca428ce25d696632252660feec08d1cdb90b Image: docker.io/siamaksade/mapit@sha256:338a3031df6354e3adc3ba7d559ae22a0f2c79eade68aa72447f821cc7b8370c Image ID: docker-pullable://docker.io/siamaksade/mapit@sha256:338a3031df6354e3adc3ba7d559ae22a0f2c79eade68aa72447f821cc7b8370c Ports: 8778/TCP, 9779/TCP, 8080/TCP Host Ports: 0/TCP, 0/TCP, 0/TCP State: Running Started: Mon, 21 Oct 2019 15:36:20 +0000 Ready: True Restart Count: 0 Environment: <none> Mounts: /var/run/secrets/kubernetes.io/serviceaccount from default-token-zhl9z (ro) Conditions: Type Status Initialized True Ready True ContainersReady True PodScheduled True Volumes: default-token-zhl9z: Type: Secret (a volume populated by a Secret) SecretName: default-token-zhl9z Optional: false QoS Class: BestEffort Node-Selectors: node-role.kubernetes.io/compute=true Tolerations: <none> Events: Type Reason Age From Message ---- ------ ---- ---- ------- Normal Scheduled 39m default-scheduler Successfully assigned app-management/mapit-1-8bs55 to node02.internal.aws.testdrive.openshift.com Normal Pulling 39m kubelet, node02.internal.aws.testdrive.openshift.com pulling image "docker.io/siamaksade/mapit@sha256:338a3031df6354e3adc3ba7d559ae22a0f2c79eade68aa72447f821cc7b8370c" Normal Pulled 39m kubelet, node02.internal.aws.testdrive.openshift.com Successfully pulled image "docker.io/siamaksade/mapit@sha256:338a3031df6354e3adc3ba7d559ae22a0f2c79eade68aa72447f821cc7b8370c" Normal Created 39m kubelet, node02.internal.aws.testdrive.openshift.com Created container Normal Started 39m kubelet, node02.internal.aws.testdrive.openshift.com Started container |
List Services
- oc get services
Example output:
|
1 2 |
NAME TYPE CLUSTER-IP EXTERNAL-IP PORT(S) AGE mapit ClusterIP 172.30.227.128 <none> 8080/TCP,8778/TCP,9779/TCP 40m |
Service IP addresses are dynamically assigned on creation and are immutable. The IP of a service will never change, and the IP is reserved until we delete the service.
Describe a Service
- oc describe service service_name
Example output:
|
1 2 3 4 5 6 7 8 9 10 11 12 13 14 15 16 17 18 |
Name: mapit Namespace: app-management Labels: app=mapit Annotations: openshift.io/generated-by=OpenShiftNewApp Selector: app=mapit,deploymentconfig=mapit Type: ClusterIP IP: 172.30.227.128 Port: 8080-tcp 8080/TCP TargetPort: 8080/TCP Endpoints: 10.130.0.2:8080 Port: 8778-tcp 8778/TCP TargetPort: 8778/TCP Endpoints: 10.130.0.2:8778 Port: 9779-tcp 9779/TCP TargetPort: 9779/TCP Endpoints: 10.130.0.2:9779 Session Affinity: None Events: <none> |
Services, Deployment Configurations, and Replication Controllers
Services
Services (SVC) provide routing and load balancing for Pods. Pods are ephemeral and can be created and destroyed.
Deployment Configuration
A Deployment Configuration (DC) defines how something is deployed on OpenShift.
Replication Controllers
Replication Controllers (RC) are used to specify and ensure the desired number of Pods (replicas) are in existence. Without a Replication Controller, Pods that are killed or die/exit are not automatically restarted. Replication Controllers provide self healing.
Normally, your application will consist of the Pod, Service, Replication Controller and Deployment Configuration.
Routes
Services provide an internal abstraction and load balancing within OpenShift. To access an application outside of OpenShift requires a Route.
The default OpenShift router (HAProxy) uses the HTTP header of the incoming request to determine where to proxy the connection. You can optionally define security, such as TLS, for the Route. If you want your Services (and by extension, your Pods) to be accessible to the outside world, then you need to create a Route.
The OpenShift Router lives in the project default.
- oc describe dc router -n default
Create a Route
- oc expose service service_name
Example output:
|
1 |
route.route.openshift.io/mapit exposed |
Display a Route
- oc get route
Example output:
|
1 2 |
NAME HOST/PORT PATH SERVICES PORT TERMINATION WILDCARD mapit mapit-app-management.apps.367157781511.aws.testdrive.openshift.com mapit 8080-tcp None |
To be continued while I progress through the lab.
Credits
I write free articles about technology. Recently, I learned about Pexels.com which provides free images. The image in this article is courtesy of Diego Madrigal at Pexels.

I design software for enterprise-class systems and data centers. My background is 30+ years in storage (SCSI, FC, iSCSI, disk arrays, imaging) virtualization. 20+ years in identity, security, and forensics.
For the past 14+ years, I have been working in the cloud (AWS, Azure, Google, Alibaba, IBM, Oracle) designing hybrid and multi-cloud software solutions. I am an MVP/GDE with several.

Leave a Reply